How to Choose the Right Spill Tray?
Choosing the right spill tray starts with a simple question: what could leak, and where will the tray sit? A container beneath a small oil bottle has different demands from one holding several chemical drums. Picture the actual work area: a rough concrete floor, a narrow aisle, and a forklift turning nearby. These details can matter as much as the tray’s listed capacity.
A suitable spill tray should match the stored containers, the substance, and the conditions around them. Check its material compatibility, internal dimensions, load rating, and usable capacity. Consider how staff will move containers and remove collected liquid. A tray that fits on paper may be awkward to clean or block routine access. Small oversights happen. Reviewing the setup in place can expose them.
Experienced spill-control professionals often stress matching containment to the real storage scenario. However, no source article or verifiable quotation was provided here, so naming an expert or presenting a quote as authentic would risk misleading readers. Insert a verified quotation before publication: [Expert’s full name] said, “[Exact sourced quotation about selecting a spill tray].” This guide can then compare common tray types, explain key selection criteria, and help readers avoid choices based on price alone. Some recommendations may still need adjustment for a particular site; that deserves a second look.
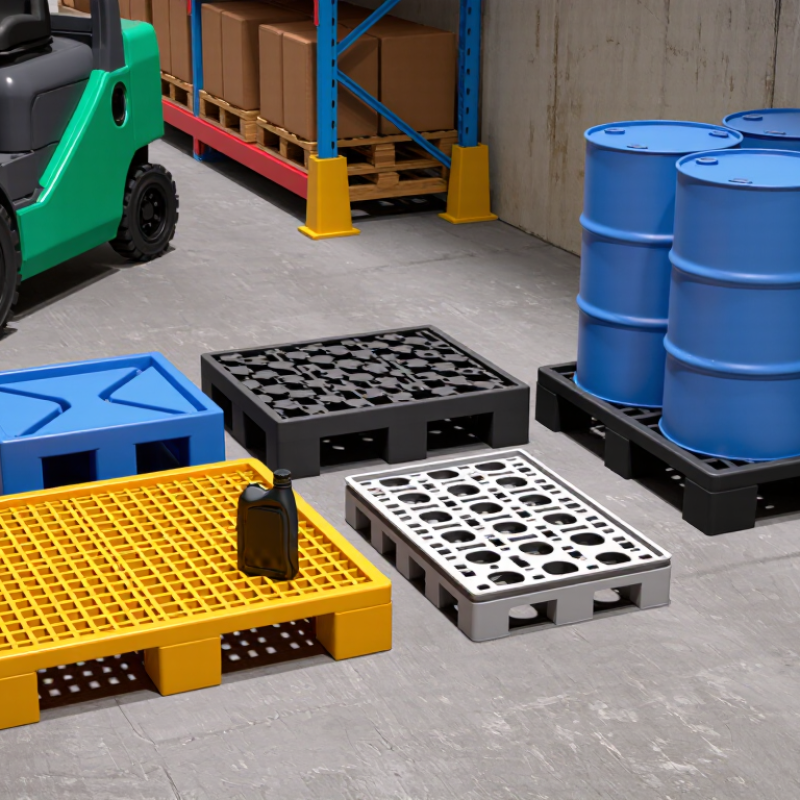
Identify the Liquids and Risks the Spill Tray Must Contain
The liquid—not just the container—should guide your spill tray choice. List every substance that could leak, including oils, cleaning solutions, and corrosive liquids. Check each safety data sheet for material compatibility and hazards. A tray that softens, cracks, or reacts with its contents may fail when needed most.
Consider how a spill could happen. A loose cap, damaged drum, or forklift impact can release more than a slow drip. Size the tray for the credible spill volume and applicable site requirements, not just the usual amount stored. Check the largest container and whether several containers could leak together. That detail is easy to miss. Keep incompatible liquids in separate trays so a leak does not create a new hazard.
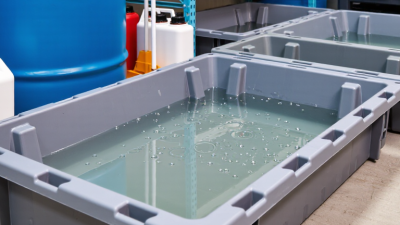
Think about the storage area, too. Rain can fill an outdoor tray and reduce its available capacity. A narrow aisle may make inspection or cleanup difficult. Look for signs of wear, pooling, or chemical damage during routine checks. It is tempting to focus only on capacity; that is not enough. A tray must suit the liquid, the likely release, and the way people work nearby. When compatibility is unclear, verify it with the safety data sheet or a qualified safety professional before use.
How to Choose the Right Spill Tray?
Identify the Liquids and Risks the Spill Tray Must Contain
Liquid identity matters: density affects the load a tray must support, while chemical compatibility determines whether its material can safely contain a spill. Values shown are approximate relative densities compared with water at about room temperature; actual values vary with concentration and temperature. Check each liquid’s safety data sheet and the tray manufacturer’s compatibility and load guidance before choosing a tray.
Calculate the Required Capacity and Tray Dimensions
Choose capacity from the largest credible spill, not the tray’s advertised outer volume. For applicable oil-storage facilities, U.S. EPA’s SPCC rule requires containment for the largest single container, plus freeboard for precipitation. Outdoor sites should use local NOAA Atlas 14 precipitation-frequency data to estimate rainfall over the tray area. Small details matter. Rainwater can consume capacity before a leak occurs.
Calculate usable volume with internal length × internal width × usable depth. A tray measuring 120 × 100 × 12 cm holds 144 liters gross, but that figure assumes every centimeter is usable. Allow for the sump insert, container feet, and a practical margin below the rim; verify the manufacturer’s stated usable capacity. If the footprint is tight, check that drums sit fully inside the raised edges and that a pump or pallet will not displace significant volume. Measure twice. A quick estimate can still miss a low corner or sloping floor. Recheck dimensions on site, then compare the result with the relevant site plan and environmental requirements before choosing the tray.
Choose a Material Compatible With the Stored Substances
A spill tray must resist the exact substance it may contain, not just “chemicals” in general. Check the safety data sheet for the substance, concentration, and storage temperature. Then confirm the tray material against a compatibility chart from a reliable technical source. Compatibility can change with concentration and heat. A tray that tolerates a brief splash may weaken during long-term contact. Small details matter.
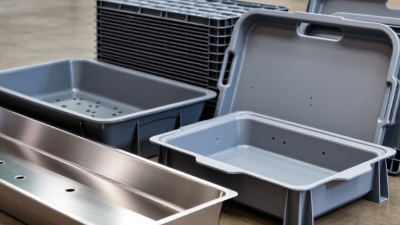
The European Chemicals Agency’s public REACH database lists more than 23,000 registered substances. That scale is a useful reminder: no single material suits every chemical. Polyethylene often works well with many aqueous acids and alkalis, while some solvents can cause swelling or cracking. Polypropylene may suit other applications, but it is not automatically a safer choice. Check the specific chemical and grade, not just the polymer name.
Inspect seams, corners, and drain fittings too; these may use different materials from the tray body. For mixed storage, assess each liquid that could leak, including cleaning agents. Compatibility charts are useful, but they are screening tools, not guarantees. If the chart lacks your concentration or temperature, ask the tray supplier or a qualified materials specialist for written confirmation. It can feel overly cautious. That’s preferable to discovering a soft spot after a leak.
Match the Tray Design to Its Location and Handling Needs
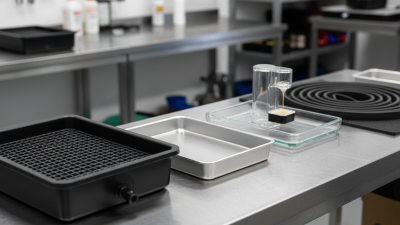
A spill tray works best when its design fits the place it will sit. Under a stationary pump or drum, measure the footprint, including hoses, valves, and room to inspect for leaks. A low-profile tray can be easier to reach, while a raised platform may help keep containers above collected liquid. Fit matters. Check that the tray material is compatible with the stored liquid, using reliable safety information rather than appearance alone. Also consider the likely spill volume and any site-specific containment requirements.
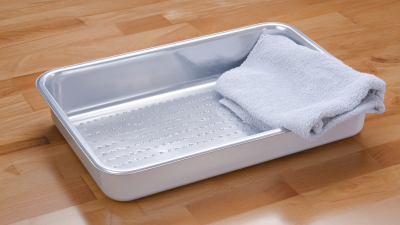
The handling routine matters just as much. A tray beneath equipment that rarely moves can be deep and simple, but one used with frequently moved containers needs clear access for lifting and cleaning. Check pallet-jack or forklift clearance, load capacity, and whether a removable grate will make cleanup easier. For outdoor placement, consider rainwater, wind, and uneven ground; a tray can fill with rain before a leak occurs. Not always obvious. A common planning miss is choosing the largest tray that fits, then finding it blocks a doorway or makes routine checks awkward. Measure the route, not just the final spot, and revisit the choice if the workflow changes.
Check Applicable Safety Rules and Maintenance Requirements
How to Choose the Right Spill Tray?
Check Applicable Safety Rules and Maintenance Requirements
Before selecting a spill tray, check the safety rules that apply to your site, stored material, and work process. Requirements can differ by location and by the type and quantity of liquid stored. Review workplace procedures, product safety data sheets, and any relevant local guidance. Confirm required containment capacity, placement, and access before buying. Do not assume one tray size suits every storage area.
Material compatibility matters. A tray that resists water may not withstand a corrosive liquid. Check the manufacturer’s compatibility information and the tray’s load rating, including the weight of full containers. Small details matter. Keep labels visible, leave room to inspect the tray, and avoid placing it where forklifts or doors may damage it. A quick site check can reveal problems that a product sheet will not.
Set a routine inspection schedule and record what you find. Look for cracks, rust, loose drain plugs, damaged seams, and liquid or debris inside the tray. Clear rainwater only when site procedures allow it; never discharge unknown residue casually. Use the approved handling process for collected liquid. It is easy to postpone a minor repair, especially in a busy area. That delay can turn a small defect into a containment failure, so assign someone to follow up and document repairs.