
How to Choose the Right CCTV Camera Accessories?

Choosing the right Cctv Camera Accessories can make the difference between a dependable installation and a system that disappoints after the first storm. A camera may have a sharp image, yet a poorly matched mount can leave it vibrating in the wind. The wrong cable can create intermittent signal or power problems. Small details matter.

Security technologist Bruce Schneier offers a useful principle: “Security is a process, not a product.” That idea applies to camera installations, too. Accessories should support the whole system, not just one device. Check camera compatibility, connector type, power requirements, cable distance, and the mounting surface before buying. For an outdoor camera, inspect weather ratings and cable-entry points; water can find gaps that look harmless on a dry day. For a long run, confirm that the chosen cable and power method suit the distance. Details first.

This guide explains how to compare mounts, power supplies, cables, housings, lenses, and storage options. It also considers the installation environment, future maintenance, and the risk of paying for features you will not use. A sturdy bracket may be more valuable than a flashy add-on. Still, specifications do not tell the whole story: real sites have awkward corners, glare, and limited access. That is easy to overlook. Use the recommendations as a practical checklist, then verify each accessory against the camera manufacturer’s documentation and the conditions at your site.
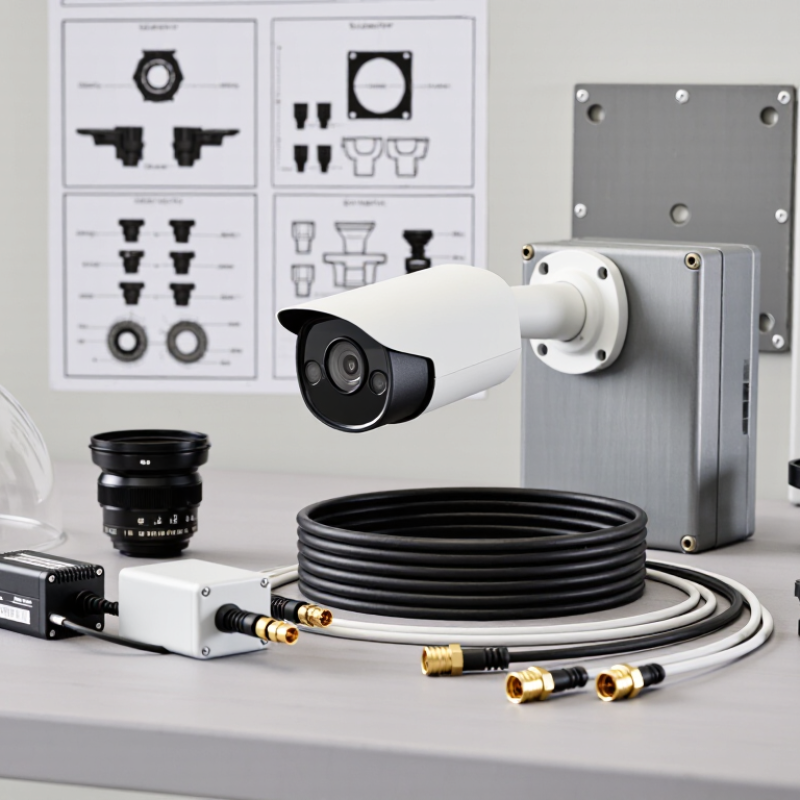
How to Choose the Right CCTV Camera Accessories?

Assess Coverage Needs Before Selecting Lenses and Camera Mounts

Choosing the right CCTV camera accessories begins with measuring the area you need to monitor. Note the distance from the camera to key details, such as a doorway, driveway, or cash desk. A wide-angle lens covers more space, but distant faces may appear small. A narrower lens captures greater detail in one direction, yet leaves more blind spots. Check lighting too: a lens that performs well in daylight may not deliver clear images after dusk.

Camera mounts affect coverage just as much as lenses. A wall mount can suit a narrow entrance, while a ceiling mount may provide a broader view of a room. Before installation, check the camera’s weight, the surface material, and possible vibration from nearby doors or equipment. Set the camera near the intended height and test the view on a screen. A few centimeters can change what the lens captures. It is easy to overlook glare from a window; that mistake can mean adjusting the position later.

Tips: Sketch the area and mark important details. Test the lens at the actual camera distance. Check the mount’s stability, then review the image at night. If one corner remains hidden, reconsider the angle before buying a wider lens.

Verify Accessory Compatibility with Camera Interfaces and ONVIF Profiles S, T, or G

How to Choose the Right CCTV Camera Accessories?

A connector that fits does not guarantee a working system. Check the camera’s interface, power requirements, and firmware before buying a recorder, network switch, microphone, or storage device. For example, confirm that the camera supports the required Ethernet speed and PoE class, and that its audio or alarm input matches the accessory’s wiring. A mismatch can leave you with a neatly installed, silent camera. Small details matter.

ONVIF Profiles S, T, and G help assess interoperability between network video products. Profile S covers basic video streaming and related functions; Profile T adds capabilities such as H.265 video and event handling; Profile G supports recording and retrieval from local storage. Check that both the camera and the recorder support the same profile and required features. A profile label alone is not a promise that every function will work, especially across different firmware versions. Test the exact setup when possible. It is easy to overlook.

The market is expanding, but compatibility still needs careful checking. MarketsandMarkets estimated the global video surveillance market at $53.7 billion in 2023 and projected $83.3 billion by 2028 in its Video Surveillance Market report. That growth brings more device combinations, not automatic interoperability. ONVIF profiles apply to network video functions, not passive mounts or cables, so verify those separately. I still check the camera’s profile conformance and connector pinout before installation; a specification sheet can leave out the detail that matters.

Match PoE Accessories to IEEE 802.3af/at/bt Limits: 15.4, 30, 60/90 W

Choose PoE accessories by the power that reaches the camera, not just the number printed on a switch. IEEE 802.3-2022 specifies up to 15.4 W at the source for 802.3af, with 12.95 W available to the powered device. For 802.3at, those figures are 30 W and 25.5 W. Small difference. Big consequence. Cable loss and accessory draw can leave a camera short.

For 802.3bt, Type 3 supports up to 60 W at the source and 51 W at the device; Type 4 reaches 90 W and 71.3 W, respectively. These IEEE figures are useful selection limits, not promises that every port can supply its maximum simultaneously. Check the switch’s total power budget, cable length, and the camera’s peak load. An infrared illuminator, heater, or pan-tilt mechanism may raise demand beyond the camera’s idle rating.

Match injectors, splitters, and extenders to the same IEEE class, then leave practical headroom for startup and cold-weather operation. A 25.5 W device limit does not mean a 25 W camera-and-accessory combination is a safe fit. Labels can also obscure whether a figure describes source output or device input. It is easy to overlook. Before installation, compare each accessory’s maximum draw with the camera’s specification and verify the complete cable path.

How to Choose the Right CCTV Camera Accessories?

Match PoE Accessories to IEEE 802.3af/at/bt Limits: 15.4, 30, 60/90 W

Choose switches, injectors, and splitters rated for the applicable IEEE 802.3 standard. The values show maximum power at the source (PSE) and maximum power available to the powered device (PD); cable losses account for the difference. Check the camera’s power requirement and allow for accessories or peak loads.

Choose Outdoor Housings by IEC 60529 Ratings, Such as IP66

When choosing an outdoor CCTV housing, start with its IEC 60529 ingress protection rating. IP66 means the enclosure is dust-tight and tested against powerful water jets. It does not mean the housing can be submerged. That distinction matters near flood-prone areas, where a higher rating or different installation may be needed.

Check the rating for the complete installed housing, not just its empty shell. Cable glands, sealed joints, and mounting points can affect protection if they are poorly fitted or altered. Measure the camera, lens, and connectors before ordering; a tight fit can block airflow or press against seals. Small details count. On a rainy site, water can collect around a cable entry, while direct afternoon sun can raise the temperature inside the enclosure. Review the manufacturer’s temperature range and consider a sunshield or heater if local conditions require one. Also check that the window material suits the camera’s night vision and does not create glare. An IP66 label is useful, but installation quality and regular seal checks still matter. Even careful planning can miss a site-specific problem, so inspect the housing after the first heavy rain.

Plan Storage and Cabling: 1 Mbps ≈ 10.8 GB/Day; Ethernet Channel Limit: 100 m

How to Choose the Right CCTV Camera Accessories?

Storage and cabling deserve attention before you order cameras. At a constant 1 Mbps, one stream generates about 10.8 GB per day, or 324 GB over 30 days. That estimate uses decimal gigabytes and excludes filesystem overhead. Motion, frame rate, and scene detail can change actual demand. Small changes matter. Multiply the daily estimate by camera count and retention days, then leave room for growth. A 4 Mbps stream, for example, needs roughly 43.2 GB per day. I still treat that figure as a starting point, not a promise; real scenes rarely behave perfectly.

For copper Ethernet, the 100 m channel limit in IEEE 802.3 and TIA-568 cabling guidance includes the full cable path, not just the visible run. Patch leads and connection points count. Measure the route, including detours through ceilings and cabinets. If a camera sits beyond the limit, plan an additional network point or a suitable fiber link instead of stretching the run. Cable quality and installation also affect reliability. These standards provide the distance benchmark; they do not guarantee every installed link will perform well. A little spare capacity helps. Check switch-port capacity and expected aggregate camera traffic alongside cable distance, because a compliant run can still overload a shared uplink.

How to Choose the Right CCTV Camera Accessories? — Plan Storage and Cabling: 1 Mbps ≈ 10.8 GB/Day; Ethernet Channel Limit: 100 m

Planning Dimension Reference Value Example or Selection Guidance
Storage estimate per camera Approximately 10.8 GB per day for every 1 Mbps of continuous video bitrate Estimate = bitrate (Mbps) × 10.8 × recording days. This uses decimal GB and assumes continuous recording.
1 Mbps camera stream 10.8 GB/day; 324 GB for 30 days Approximate 30-day video storage for one camera, before any capacity reserve.
2 Mbps camera stream 21.6 GB/day; 648 GB for 30 days Approximate 30-day video storage for one camera, before any capacity reserve.
4 Mbps camera stream 43.2 GB/day; 1.296 TB for 30 days Approximate 30-day video storage for one camera, before any capacity reserve.
6 Mbps camera stream 64.8 GB/day; 1.944 TB for 30 days Approximate 30-day video storage for one camera, before any capacity reserve.
8 Mbps camera stream 86.4 GB/day; 2.592 TB for 30 days Approximate 30-day video storage for one camera, before any capacity reserve.
Capacity reserve Plan for about 20% free capacity For a 4 Mbps camera recording for 30 days, 1.296 TB of estimated video requires about 1.62 TB of total usable capacity to retain a 20% reserve (1.296 ÷ 0.8).
Multiple cameras Multiply the per-camera estimate by the camera count For example, four cameras at 4 Mbps for 30 days need about 5.184 TB for video, before reserve, RAID effects, or other system overhead.
Recording mode and bitrate Actual storage varies with codec, frame rate, resolution, scene activity, and recording schedule Use the camera’s configured or measured average bitrate for a closer estimate. Motion-triggered recording may reduce storage, but results depend on activity and settings.
Recording storage drive Choose capacity and workload suitability for continuous recording Check the recorder’s supported drive type, maximum capacity, drive count, and any RAID requirements before purchasing storage.
Ethernet copper channel Maximum channel length: 100 m (328 ft) A typical structured-cabling layout allows up to 90 m for the permanent link and a combined 10 m for patch cords. Keep the full channel within the applicable Ethernet cabling standard.
PoE over Ethernet Plan within the standard channel limit and verify power requirements Confirm that the switch or injector supplies enough power for the camera and accessories. Cable quality, connections, and device power draw can affect reliable operation.
Outdoor cable protection Use cable rated for its installation environment For exposed runs, select suitable outdoor- or UV-rated cable and protect connections with weather-resistant enclosures. Follow local electrical and building requirements.
Longer-than-100 m routes Do not exceed the copper Ethernet channel limit Consider a properly designed fiber link, an approved network extension method, or an intermediate powered network point; account for power and environmental protection.
Surge and grounding protection Assess exposure on outdoor and building-to-building cable routes Use appropriately rated surge protection and follow local grounding and bonding requirements, especially for outdoor cable runs.
Go to Top